8 Steps to Properly Install Boat Fenders
Installing boat fenders correctly is essential for protecting your boat from damage while moored or docked. These simple steps will guide you through the process, ensuring that your boat stays safe and secure. Whether you’re a seasoned sailor or a weekend warrior, following these easy-to-understand guidelines will make a world of difference.
1. Gather the Right Tools and Materials
Start by collecting everything you’ll need for the task at hand. This usually includes fenders, fender lines, a measuring tape, and maybe even a pair of scissors or a knife for cutting lines. Having the right tools ready will streamline your installation process.
It’s also a good idea to check your boat for any items that may inadvertently get in the way during installation. A clean workspace is essential for an efficient installation. So, take a few extra moments to remove any clutter on your deck or around your docking area.
Additionally, gather some helpful resources, like a manual or online videos specific to your boat type. These can provide insights that are helpful when choosing the right fenders and attaching them correctly to suit your unique vessel.
2. Choose the Proper Fender Size
Fenders come in various sizes, and choosing the right one for your boat is crucial. Consider the size of your boat, the dock or marina where you’ll be mooring, and the expected conditions to select the appropriate fender size.
A common mistake is underestimating the size of the fender needed. If you choose one that’s too small, it won’t offer adequate protection against impacts, while oversizing can lead to difficulties in handling. As a rule of thumb, a fender length roughly one inch in diameter per foot of your boat’s length is a good starting point.
Moreover, consider the environment you’ll be in. If you’re regularly in rough waters or close to other vessels, investing in larger fenders can help provide that extra cushion of protection. Remember, it’s better to have fenders that are slightly larger than to risk damaging your vessel.
3. Determine Fender Placement
Before you start the installation, determine where your fenders should be placed. This generally depends on your boat’s size and shape as well as where you anticipate making contact with the dock or other vessels.
To find the best placement, observe where your boat naturally makes contact with the dock. Pay special attention when approaching the dock. It might be useful to mark these spots beforehand, as they can serve as a guide during installation.
Another helpful hint is to consider the fender’s ability to adjust as your boat shifts. You might need to install a few fenders at different heights to accommodate tidal changes. Keeping this in mind will enhance your fender’s effectiveness in protecting your boat.
4. Use the Right Knot for Attachment
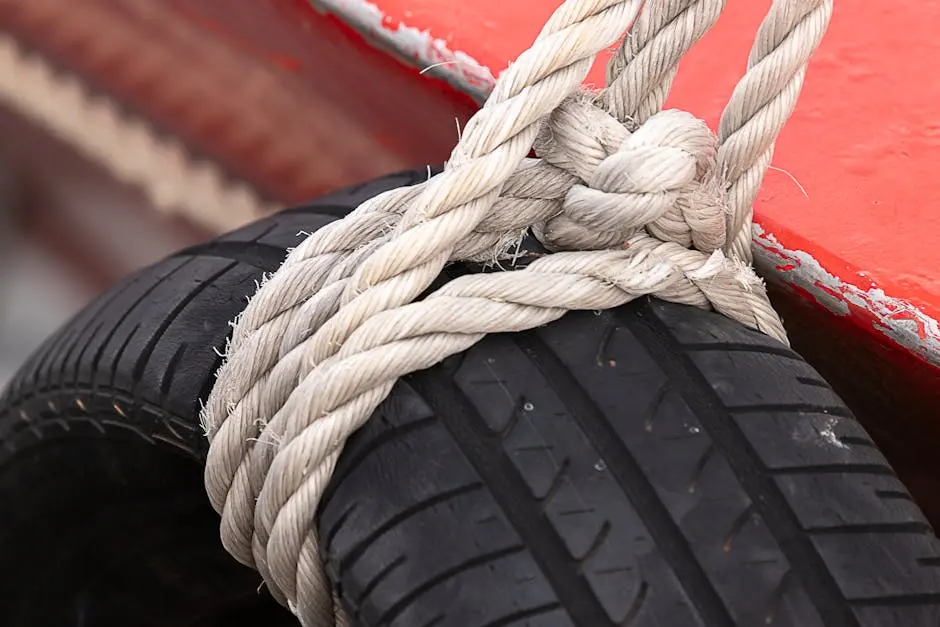
When it comes to securing your fenders, the type of knot you use matters. Learn a few reliable knots, such as the cleat hitch or bowline, that will hold your fender in place securely while allowing for easy adjustments.
If you’re not familiar with knot tying, don’t worry! There are plenty of tutorials available online. Practice each knot to become proficient before you head out to install your fenders. The last thing you want is a knot that slips just when you need it most.
5. Adjust Fender Height for Optimal Protection
After you’ve attached your fenders, adjust them to the right height. The goal is to ensure they are positioned to absorb impact effectively, keeping your boat safe from bumps and scrapes.
A good rule of thumb is to have the bottom of the fender at water level during calm conditions. This can help avoid unnecessary friction and wear from floating debris. Notably, ensuring your fenders are at the correct height can also minimize the chances of them getting stuck under your boat.
6. Make Sure Fender Lines Are Secured
Double-check that your fender lines are tightly secured and not at risk of slipping. Loose lines can lead to ineffective protection, so taking a few moments to tighten them can save you headaches down the road.
This step cannot be underestimated. Even if everything else is perfect, a simple oversight with your lines can put your boat at risk. Reassess your lines every so often, especially after rough dockings or tricky moorings. A little diligence here goes a long way!
7. Inspect Your Fender Setup Regularly
Now that your fenders are installed, don’t forget to routinely inspect them. Look for wear and tear, and ensure they remain in the correct position, especially after rough weather or long trips.
Make it a habit to perform these checks both before and after outings. Observing any changes can help you identify issues before they escalate. Trust me, the cost of preventative maintenance is much lower than repairing damage caused by improper fender installation.
8. Know When to Replace Your Fenders
Understanding the lifespan of your fenders is key. If you notice fading, cracks, or any other signs of deterioration, it might be time for a replacement. Regular evaluations will keep your boat well-protected.
Additionally, remember that even a small flaw can compromise your fender’s effectiveness. Don’t wait until you have a larger issue. Keeping an eye on your fenders will ensure they function when you need them the most, safeguarding your precious boat.
